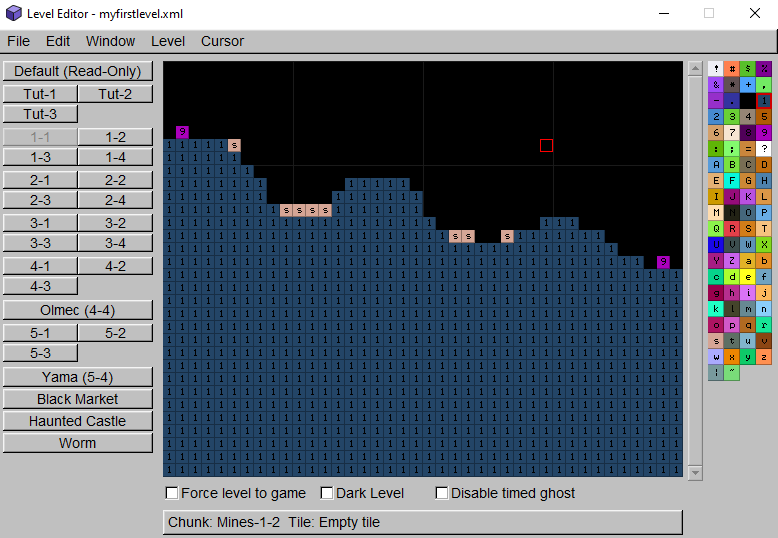
Welcome back to our first level. So far, we've got terrain, spikes, an entrance, and an exit. Also, you'll notice the title bar doesn't say "(Unsaved Changes)" anymore, because I saved my progress in the editor. You should save too.
Our level definitely needs some enemies. To add entities, we can either resort to looking for tiles that spawn enemies (such as ':'), or we can add an entity
Generally you want to use entities over tiles for enemies, because you get complete control over the enemy that is spawned.
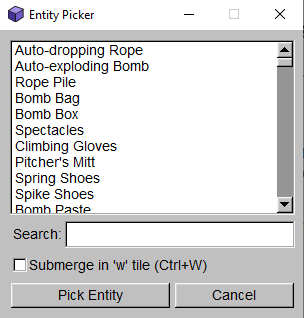
To add an entity to our level, first we have to add it to our picker. Go to Level->Entity Picker (Ctrl+P).
Let's say you want to add a Snake to the level. You would type "Sna" and the search engine will immediately recognize what you want.
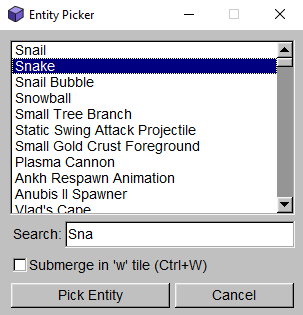
The blue highlighted element is the selected entity, and below you can see other suggestions by the search engine. Press Pick Entity or the Enter key to add the entity to your picker.

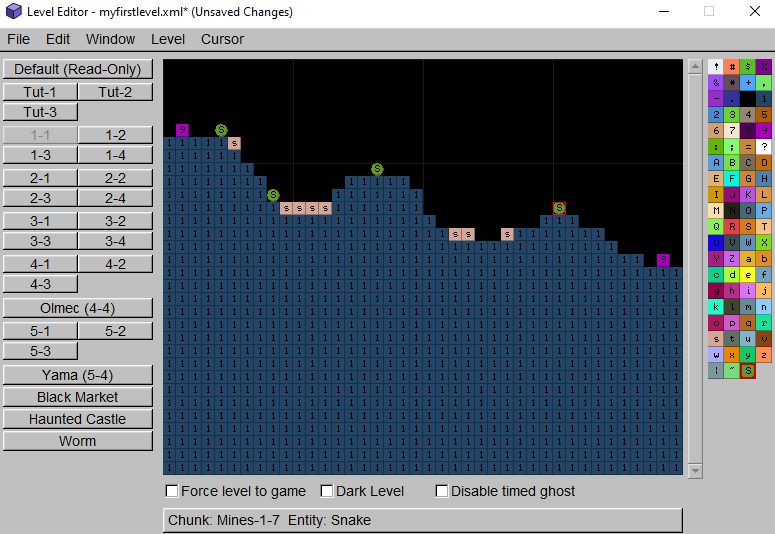
Our picker now has a green circle with an "S" in it, surrounded by a red rectangle. This means the entity was added and picked, so we can proceed to putting it into the level as we would with a tile. (Mouse users right click to put down the tile, keyboard users press the Tilde key (`) to place the currently picked tile at the cursor position.)
The process for entity placement is approximately the same for all other entities. Among the possible entities are enemies, items, crates, pots, bosses, special blocks, special event triggers, physics blocks, and more. Some enemies (like Alien Queen), may be larger than one tile, so you would have to place them in mid-air in the editor. I'm going to proceed to add a couple more entities to our level.

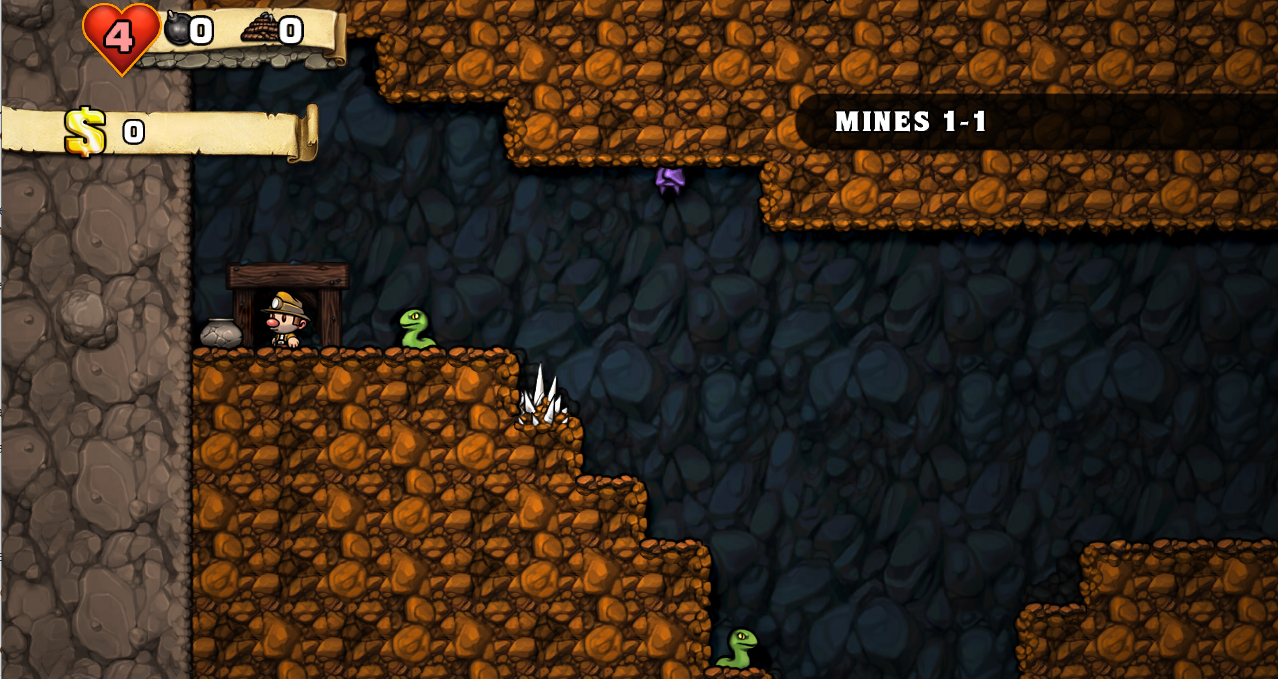
I added three bats at the top (with some blocks for them to hang onto), and a Cobra at the end of our level.
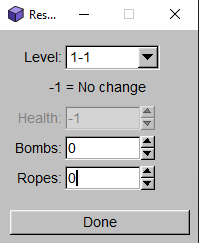
Now, our level would be too easy if we gave the player access to the four bombs he normally starts with. The Resource Editor allows us to customize resources per level. Go to
Level->Resource Editor (Ctrl+Shift+R).
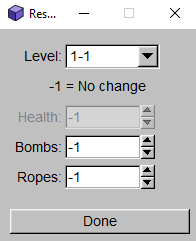
We want to edit Level 1-1 resources, and make it so the player starts with no bombs or ropes. So, select the level, set Bombs to 0, and Ropes to 0, then press "Done".
Our final level (in Spelunky):
If you want your levels to start past 1-1, go to Level->Project Settings and set the desired starting level. Do not require players to use Force Level. You can also enable checkpoints in the Project Settings window.
When testing levels past 1-1, use the Force level to game (Ctrl+E) option to have the level be forced upon entry, so you can test the level immediately.
With that, we're done with our first level! From this brief introduction to level creation you should understand how to:
The next section will go in depth on configuring your Level Packs.
